Q: What is a hacking lab. What can it be used for?
- A hacking lab is essentially a private system (usually located in one’s home) that allows you to experiment and practice with penetration testing tools.
Q: What can we do after completing this guide?
- In this case we are going to be downloading the Virtual Box images for the latest version of Kali Linux and Windows Home. Once you have everything set up, you will be free to experiment with all the tools that come with Kali. Since the attacks will be directed at the dummy Windows VM (Virtual Machine), you won’t have to worry about any legal repercussions.
Important!
If you access someone’s computer system without their consent or authority, it is considered illegal.
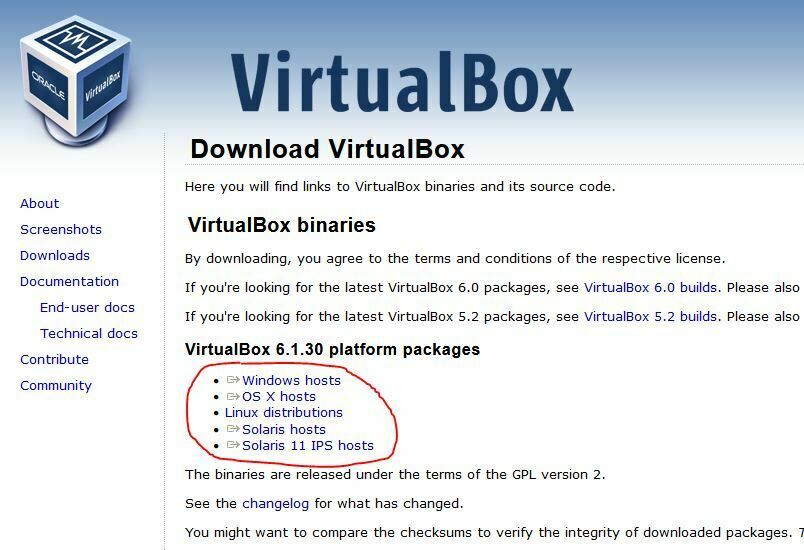
Virtual Box, Windows, & Kali Downloads
Installing Virtual Box
- Download the version of Virtual Box that corresponds to your Operating system from the link above and launch the file.
- Choose where to install Virtual Box, If not, just click next.
- Choose Yes when prompted with “Warning: Network Interfaces”
- Click Install
- You can choose whether to install device software for USB devices. This will allow you to connect USB devices from your host system to the VM.
- Finally click Finish
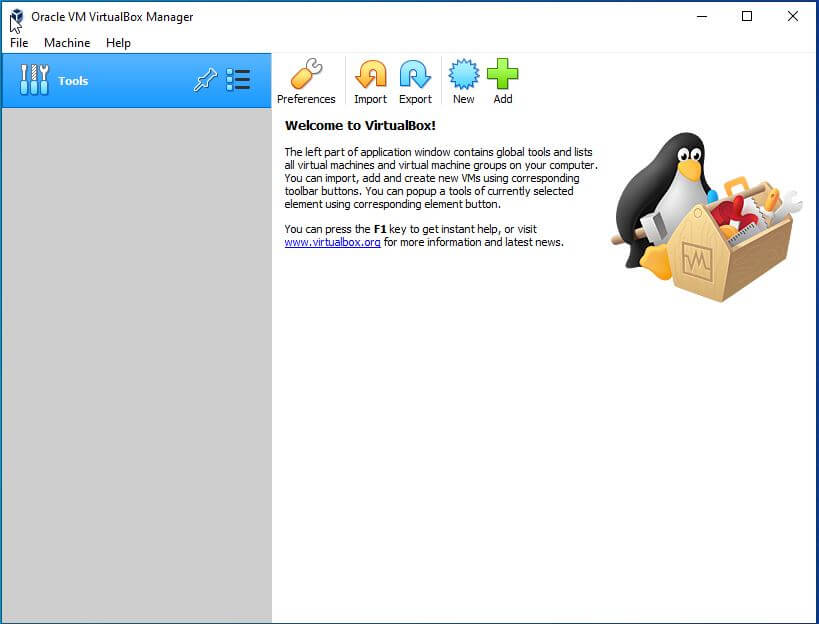
- Your Virtual Box should look like this:
Installing Kali VM
- Download the Virtual Box Kali image from the link above.
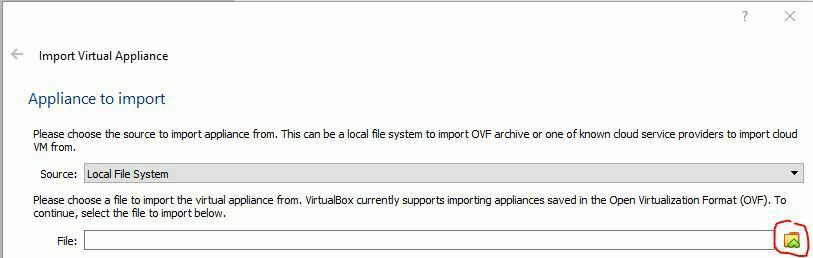
- Once you have the file downloaded, open virtual box, click File at the top left and then click Import Appliance
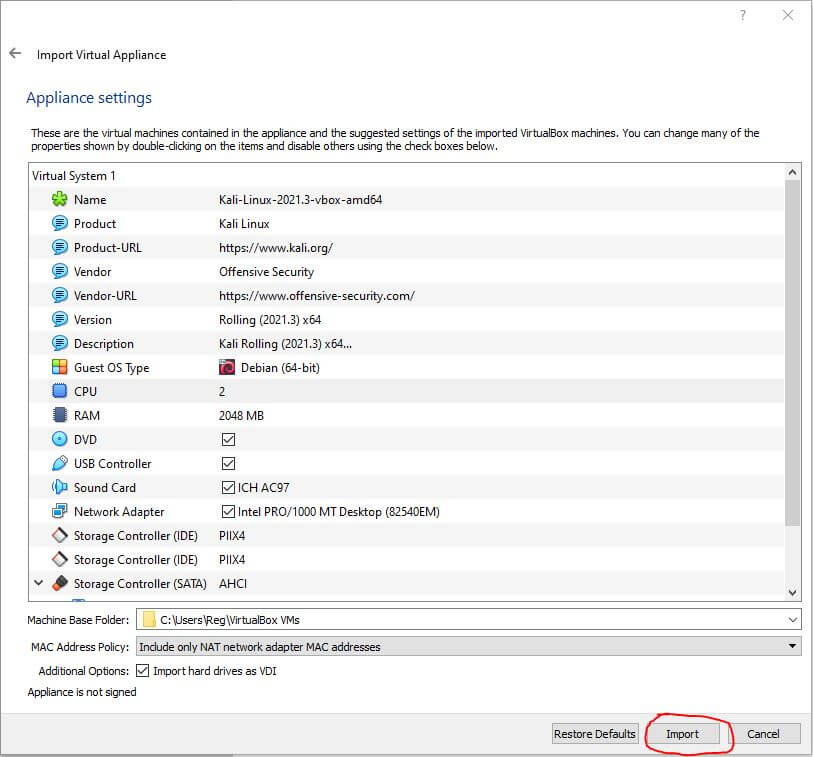
- A menu is going to show up to choose the location of the Kali file and click Next. You can choose the file by clicking the icon in the right.
- This is going to take us to Appliance Settings, click Import at the bottom right to finish importing the virtual machine. You can change all these settings later.
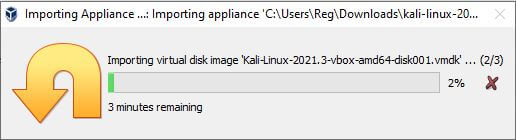
- Agree with the “terms and conditions” if it prompts it.
- Kali is then going to take a few minutes to import the virtual machine.
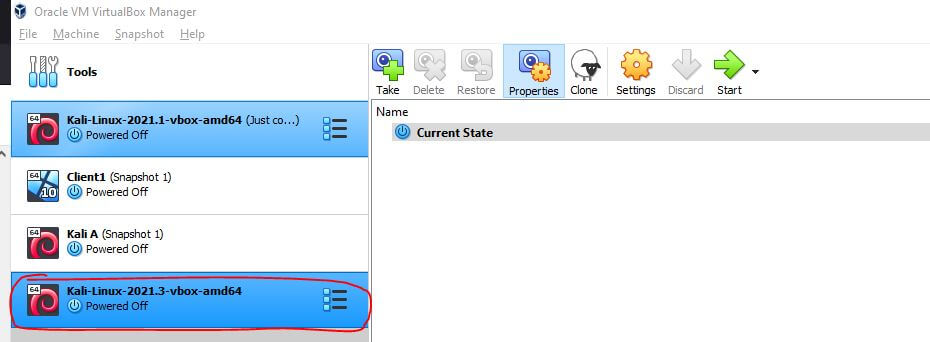
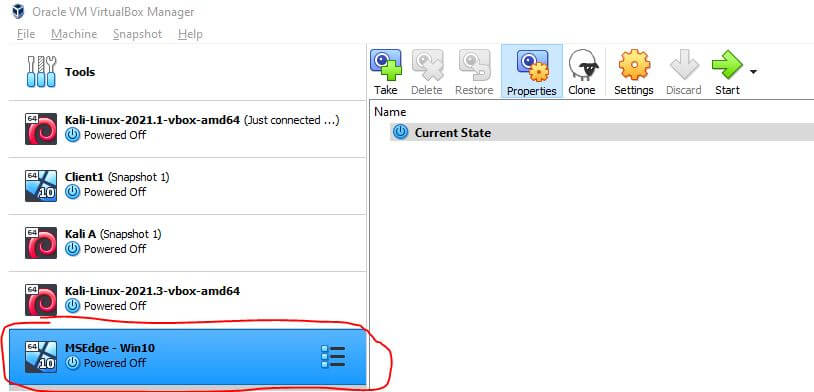
- Once the import is done, you will be able to see the Kali machine under tools option. Since I already have other virtual machines installed, you can see more in my list.
Installing Windows VM
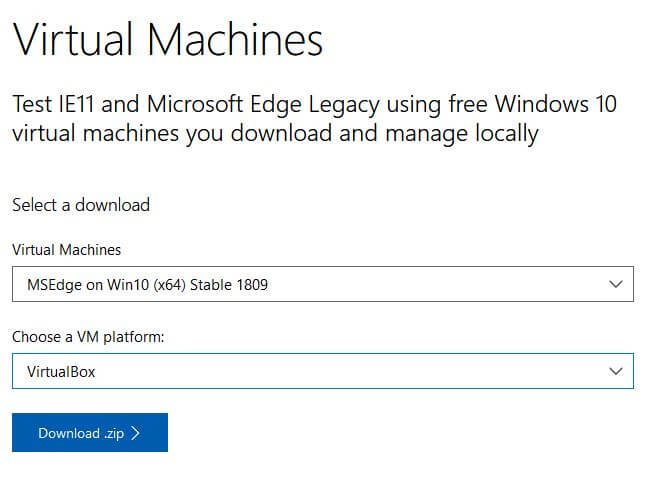
- Download the windows .zip file and extract the virtual machine file.
- Once you have extracted the file, you are going to do the same process that you did with the Kali Machine.
- Click on File at the top left of Virtual box and click Import Appliance in the drop-down menu.
- Choose the location of the Windows VM in the appliance menu and then click Next
- Click Import at the bottom right to finish importing the virtual machine. You can change all these settings later.
- Once it finishes importing, you will be able to see the Windows VM along the Kali VM.
Network Settings
In order for the two machines to communicate, they need to be added to the same NAT Network.
Q: What is a NAT Network?
- A NAT Network simulates an internal network (Just like your own home network) to allow virtual machines to communicate with each other while still allowing outbound connections to the Internet. Your host system, will act as a router to the virtual machines connected to the NAT Network.
Creating NAT Network
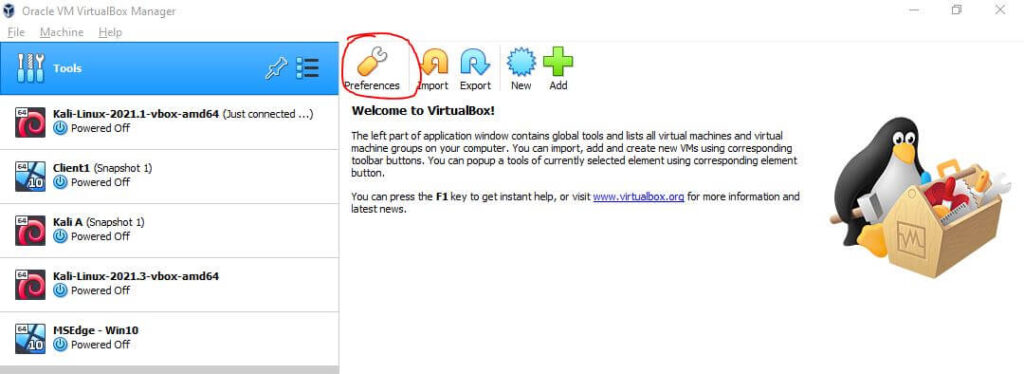
To create a NAT Network in Virtual Box, we first have to click on Tools at the top left and then click in Preferences
Once the Preferences menu is open, navigate to Network and click on the + icon to the right of the menu to create a new Nat Network.
This will automatically create a new Nat Network named “NatNetwork“.

Now that we have the Nat Network created, we can now go to the Kali and Windows settings to change the network adapter settings.
Changing VM Adapter Settings
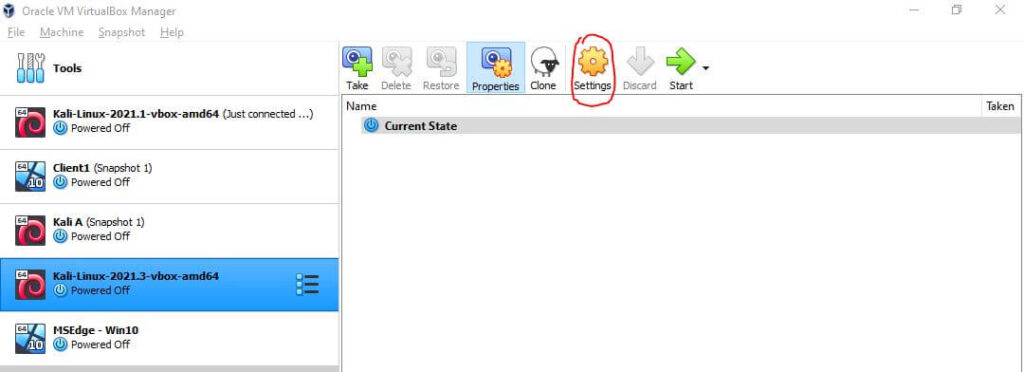
To change the network adapter settings, navigate to the Kali machine you installed and click Settings on the top left.
Navigate to Network.
In “Adapter 1”, go to the “Attached to:” drop down menu and select Nat Network.
The name of the Nat Network you created will automatically be chosen. Click OK when done to save the settings.

You will do this same process with the Windows VM.
Launching the Virtual Machines
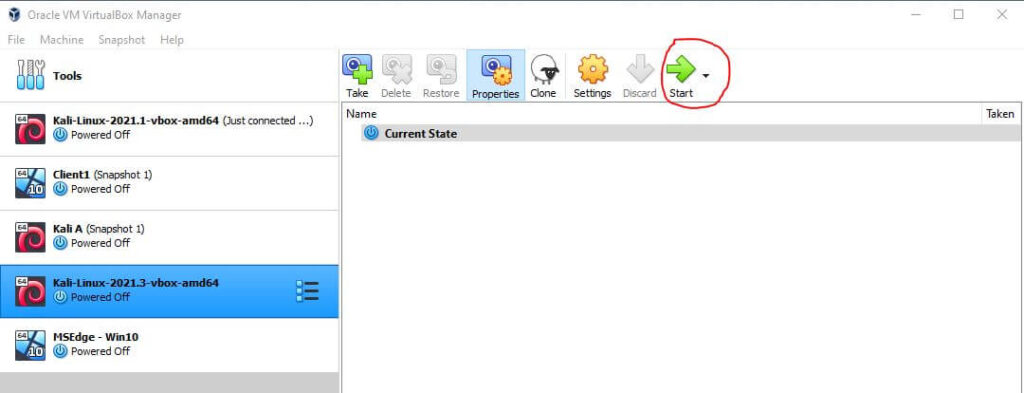
To start up the two virtual machines, navigate to the corresponding virtual machine and click the green arrow at the top right labeled “Start”.
Do this for both. We are going to first be launching the Kali VM.
Wait for the machine to finish booting until you get to the password prompt.
The username and password for the machine is “kali“.

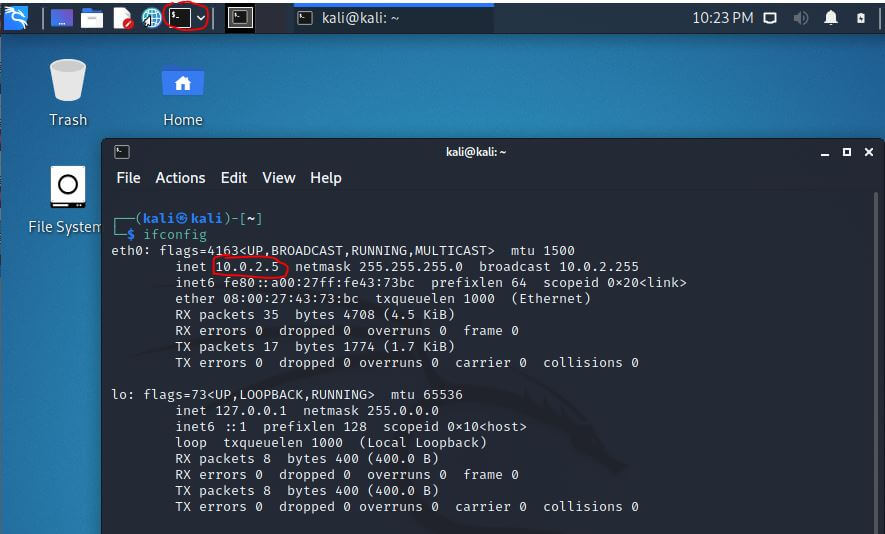
Use the ifconfig command to check the virtual machine’s IP address. You can press the terminal icon on the top left of the screen to open a terminal.
Your machines IP Address may be different, so don’t worry if they are.
IP address = 10.0.2.5
We are going to start the Windows VM the same way as Kali, by clicking the green start button on the top right.
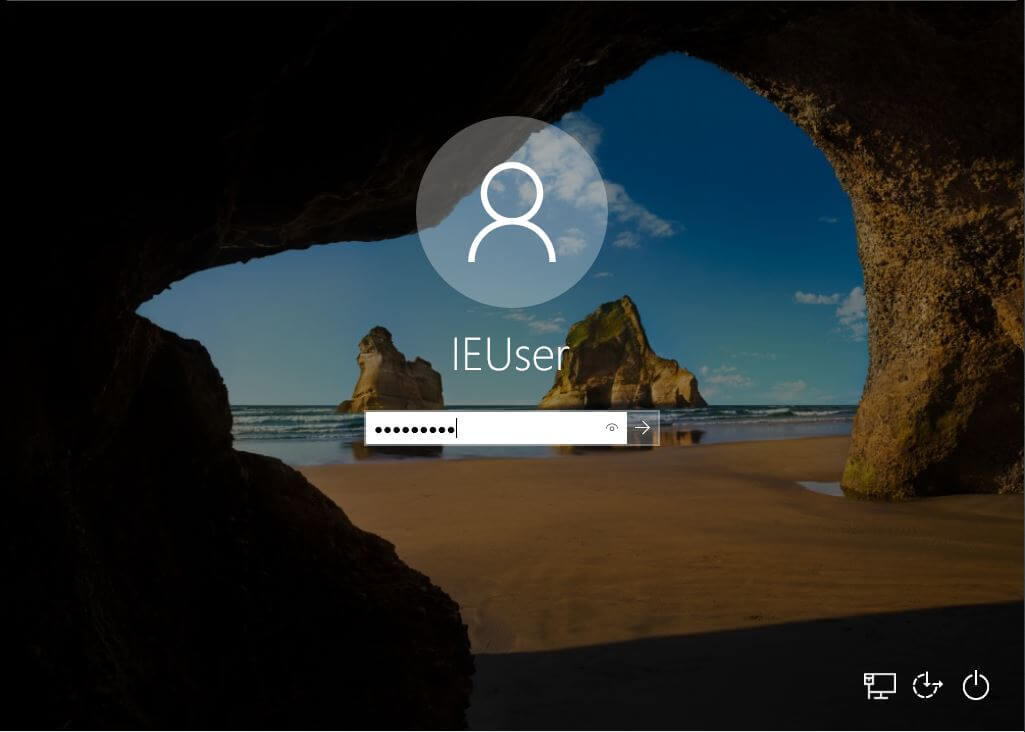
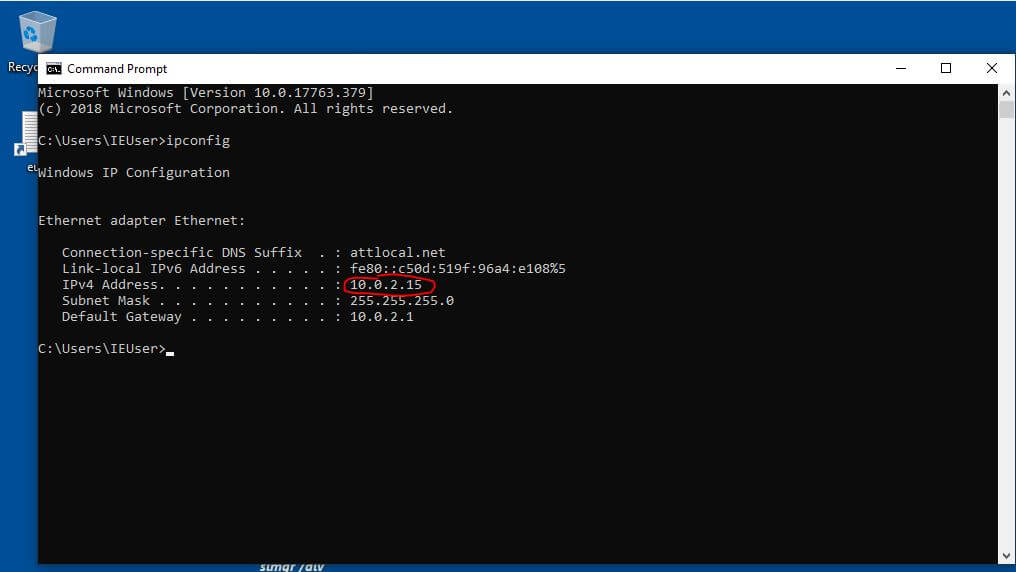
Let the Windows VM go through its boot-up process until you reach the sign-in screen. The credentials are:
Username = IEUser
Password = Passw0rd!
IP Address = 10.0.2.15
Checking Connection
If you followed all these steps correctly, your Kali and Windows VM should be able to communicate when both of them are running.
To check if this is working, we are going to try the ping command. Lets try pinging the Kali VM from Windows. Since the IP address for the Kali Machine is 10.0.2.5, the ping command will be ping 10.0.2.5
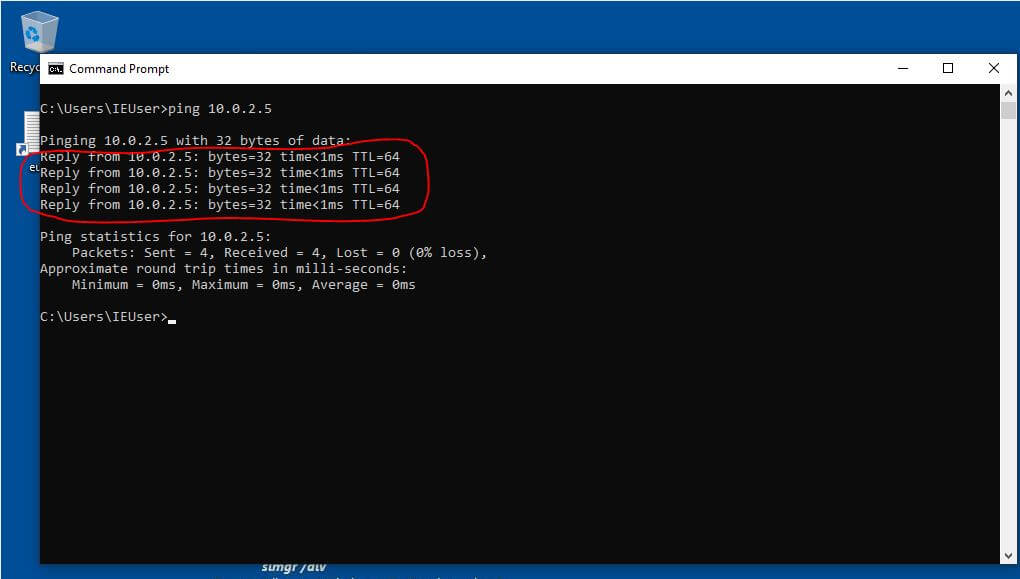
We can see here that both the VM’s are able to communicate with each other.
What’s Next?
I suggest you look around and get a feel for the Kali Linux interface. If you have used Linux before you should have no problem getting around. Take a look at all the penetration testing tools that come with distribution of Linux.

If you have any questions regarding this post, feel free to leave a comment down below and I’ll reply as soon as I can.